
To install a chimney cap, measure your flue, choose a stainless steel cap, safely access the roof, clean the flue surface, set the cap in place, and secure it with stainless self-tapping screws or anchor bolts. Most single-flue installs take 30 to 60 minutes.
Georgia winters crack masonry. Atlanta’s humidity rusts unprotected metal. If you want to stop water, animals, and embers from destroying your chimney, learning how to install a chimney cap is one of the smartest weekend projects you can take on.
What Is a Chimney Cap?
Before you learn how to install a chimney cap, understand what it does. A chimney cap is a metal cover with a wire mesh screen that sits on top of your chimney flue.
It does four jobs at once:
- Blocks rain, snow, and humidity from entering the flue
- Stops animals like squirrels, raccoons, and birds from nesting inside
- Catches sparks before they land on your roof or your neighbor’s
- Reduces downdrafts that push smoke back into your living room
In Georgia’s climate, a chimney cap is not optional. Our humid summers and winter freeze-thaw cycles attack any unprotected chimney.
Tools and Materials You’ll Need to Install a Chimney Cap
Before you install a chimney cap, gather every tool at ground level. Trips up and down a ladder are when most injuries happen.
- Steel tape measure
- Cordless drill with masonry and metal bits
- Self-tapping stainless steel screws
- High-temperature silicone caulk (rated 500°F or higher)
- Wire brush and stiff nylon brush
- Caulk gun
- Extension ladder rated for your roof height
- Roof harness and fall arrest gear
- Non-skid shoes, safety glasses, and work gloves
- A correctly sized chimney cap
How to Install a Chimney Cap: 6-Step Process
Whether you’re learning how to install a chimney cap on a new build or replacing one that rusted through, the process follows six clear steps. Follow them for a safe, watertight install.
Each step below explains exactly how to install a chimney cap the way our certified technicians do it on Georgia rooftops every week.
Step 1: Measure Your Flue
From the roof, measure the outside length and width of your terracotta flue tile. Round flues need a diameter measurement.
Multi-flue chimneys need a height that clears the tallest flue by 6 inches. Wrong sizing is the top reason DIY installs fail.
Step 2: Choose the Right Cap and Material
Three materials dominate the market in 2026:
- Galvanized steel: $25–$80; rusts in 5–10 years in Georgia humidity
- Stainless steel: $80–$300; lifetime warranties common; our top pick
- Copper: $300–$900+; decades of life; ideal for historic Newnan homes
Match the cap style to your chimney type: single-flue slip-in, multi-flue outside-mount, or band-around-brick.
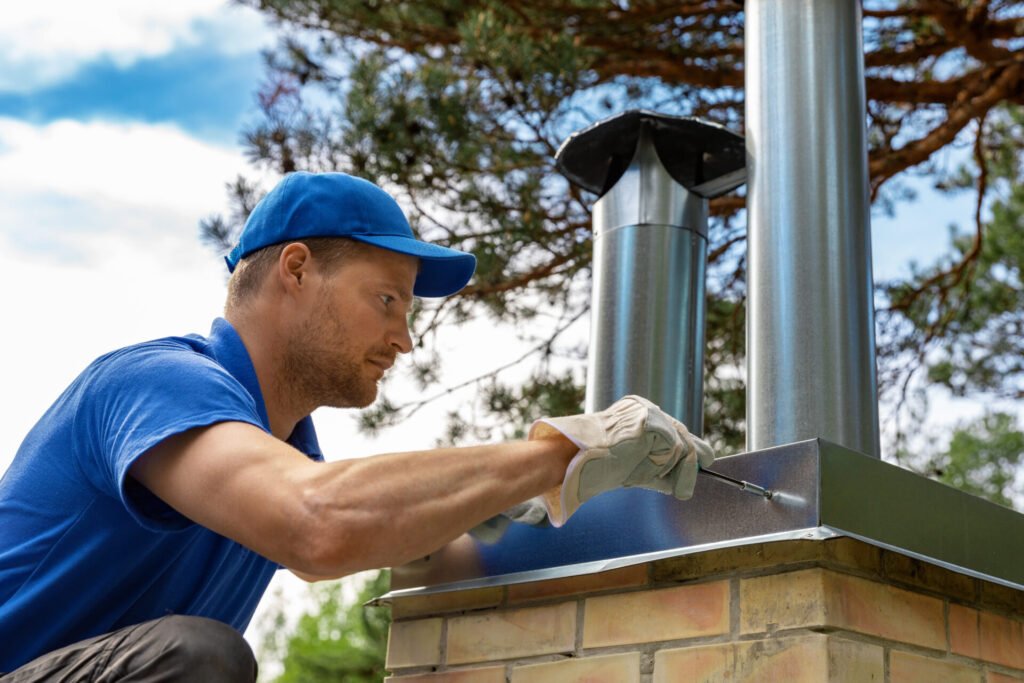
Step 3: Safely Access the Roof
Set your ladder on level ground. Have a helper steady the base. Wear a roof harness anchored to a secure point.
If your roof pitch exceeds 6/12 or your home is two stories or taller, stop. Hire a certified pro instead.
Step 4: Clean the Flue and Crown
Use the wire brush to scrub the flue tile and the chimney crown. Remove old caulk, soot, debris, and rust flakes.
A clean surface is what allows the new cap to seat tightly and bond properly with the silicone.
Step 5: Position and Secure the Cap
How you attach the cap depends on its style.
Single-flue slip-in cap:
Slide the flange over the flue tile. Drill pilot holes. Drive in two stainless screws per side.
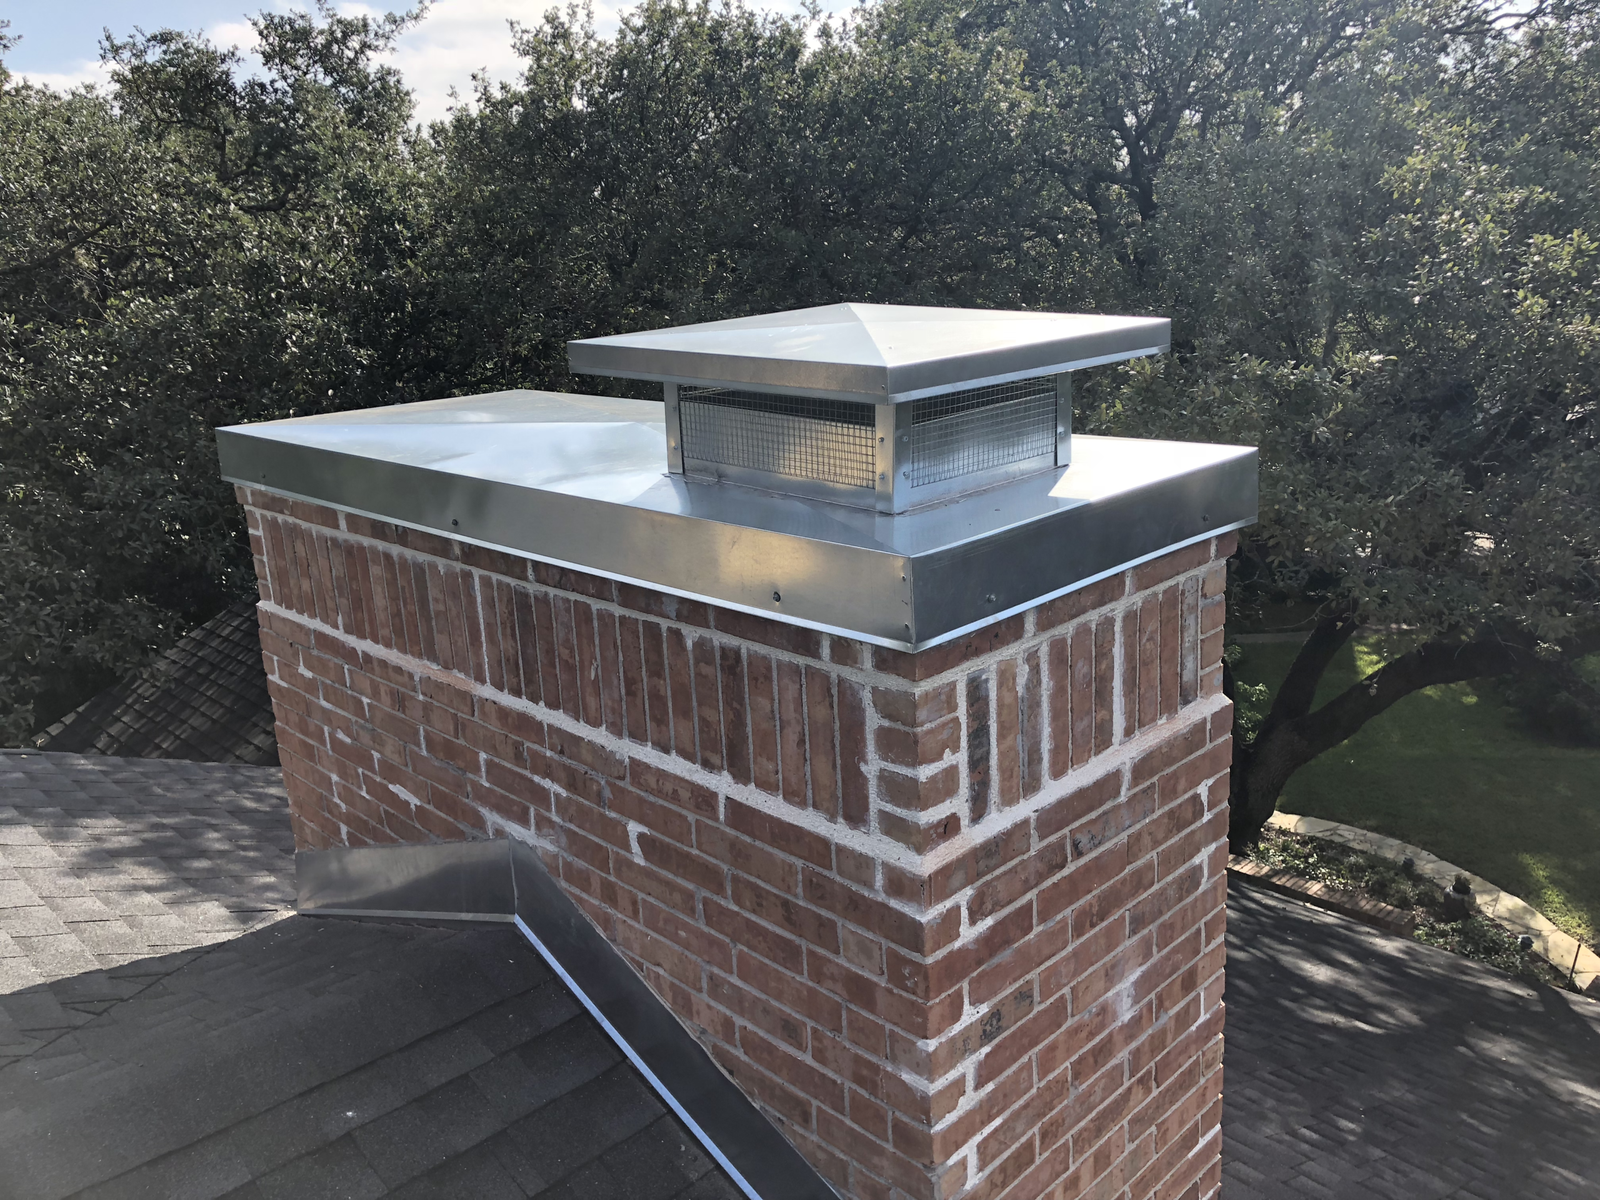
Multi-flue outside-mount cap:
Set the cap on the crown. Drill pilot holes with a masonry bit. Lift the cap, run a thick bead of high-temp silicone, reset, and drive in masonry screws.
Band-around-brick cap:
Slide the band over the top course of the brick. Tighten corner bolts evenly until firm.
Never overtighten. A cracked flue tile costs more to repair than the cap itself.
Step 6: Test, Seal, and Inspect
Push gently on all four sides of the cap. It must not rock or rotate. Run a thin bead of silicone around any visible gaps.
From the ground, the cap should sit perfectly level. Recheck after the first heavy rainstorm.
How to Replace a Chimney Cap
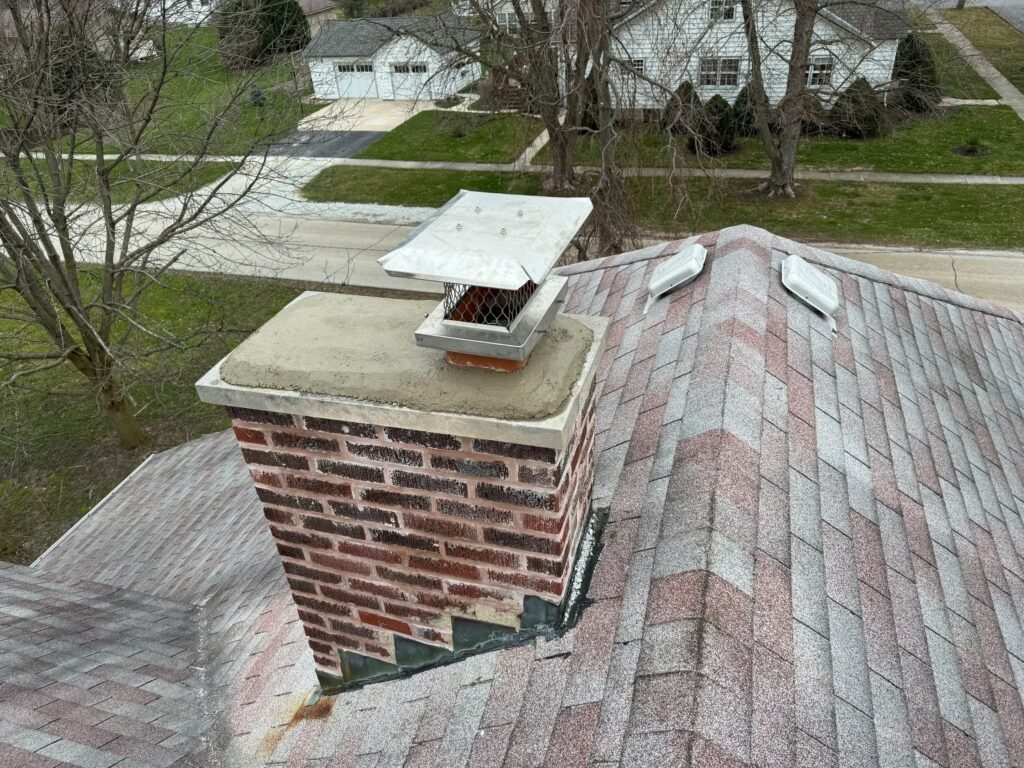
The steps to replace and to install a chimney cap are nearly identical. To replace an old cap, add two steps before measuring.
- Inspect the old cap for rust, missing screws, bent mesh, or animal damage. Photograph it for sizing reference.
- Remove the old screws. Slice through old caulk with a utility knife. Lift the cap free.
Use penetrating oil for seized screws. Never force them. Forcing screws crack the flue tile.
Then follow Steps 1–6 above. Most replacements take a certified technician 30 to 60 minutes.
How Much Does It Cost to Install a Chimney Cap? 2026 Atlanta Pricing
When researching how to install a chimney cap, most homeowners want a budget number first. Cost depends on cap material, chimney height, and number of flues.
National averages run $75 to $1,000 installed. In the Atlanta metro, expect the following ranges in 2026.
- Cap unit alone: $50–$500
- Professional labor: $150–$350
- Total installed cost: $200–$850 for most single-family homes
- Custom or copper caps: $750–$1,500+ installed
Five factors push your final price up or down:
- Number of flues
- Roof pitch and chimney height
- Cap shape (round and square are the cheapest; oval and custom are 10–50% more)
- Time of year (winter premiums for icy roofs)
- Crown condition (damaged crowns need sealing first)
Replacement runs $50–$100 higher than a new installation because of removal labor.
When to DIY and When to Hire a Pro
You can install a chimney cap yourself in many cases. But hire a professional chimney technician when any of these are true.
- Roof pitch exceeds 6/12, or the home is two-plus stories
- Multiple flues or non-standard chimney dimensions
- Crown shows cracks, spalling, or water staining
- You don’t own proper fall arrest gear
- You want a workmanship warranty on the installation
Most Georgia homeowners searching who installs chimney caps choose a certified company. The combined risk, gear cost, and time make DIY a poor trade.
Why Trust Archer Chimneys & Exteriors
Archer Chimneys & Exteriors is a licensed, insured, family-owned chimney and exterior services company. We are based in Newnan, GA, and serve homeowners throughout Coweta County, Marietta, and Asheville, NC.
Here is what separates us from general contractors and national chains:
- Full leak diagnosis. We assess every potential entry point on every visit. You get a complete diagnosis, not a partial fix.
- Level 2 video camera inspections: We inspect the interior of your flue from crown to firebox. We identify damage that is invisible from the outside.
- Chimney and roofing expertise combined: Since chimney leaks often involve both the chimney and the roof, our dual expertise removes the guesswork about where the water originates.
- Licensed and insured: We carry full licensing and liability coverage across all service areas.
- 279+ verified Google reviews: Our reputation is built on honest inspections and accurate repairs for homeowners throughout the Newnan area.
- Inspection fee applied to repairs: Your inspection fee counts toward any repair or service within 30 days. You are paying for real answers
Conclusion
A properly installed chimney cap is one of the highest-value, lowest-cost upgrades you can make to your home. It pays for itself the first time it stops a downpour, a nesting raccoon, or a stray spark.
Whether you take on the project yourself or call a certified team, the most important step is the one most homeowners skip. Knowing how to install a chimney cap is only useful if you actually get it done before the next storm.
For more updates, expert tips, and customer reviews, follow us on Facebook and Instagram, or visit our Google My Business to see why homeowners trust us.
Contact us today to schedule your inspection or get a free quote.
Frequently Asked Questions
What is a chimney cap?
A chimney cap is a metal cover with wire mesh that sits on top of your chimney flue. It blocks rain, animals, debris, and sparks while improving draft.
How do you install a chimney cap?
Here is how to install a chimney cap in six steps: measure the flue, select a correctly sized cap, access the roof safely, clean the surface, position the cap, and secure it with stainless screws or bolts.
How much does it cost to install a chimney cap?
Chimney cap installation costs $200 to $850 in the Atlanta metro for most homes. Cap units alone range from $50 to $500. Professional labor adds $150 to $350.
How much does it cost to replace a chimney cap?
Chimney cap replacement costs $250 to $950 in Georgia. Replacement runs $50 to $100 higher than a new installation because of removal labor.
How long does chimney cap installation take?
A single-flue chimney cap installation takes 30 to 60 minutes once on the roof. Multi-flue or custom installs may take 1 to 2 hours.