
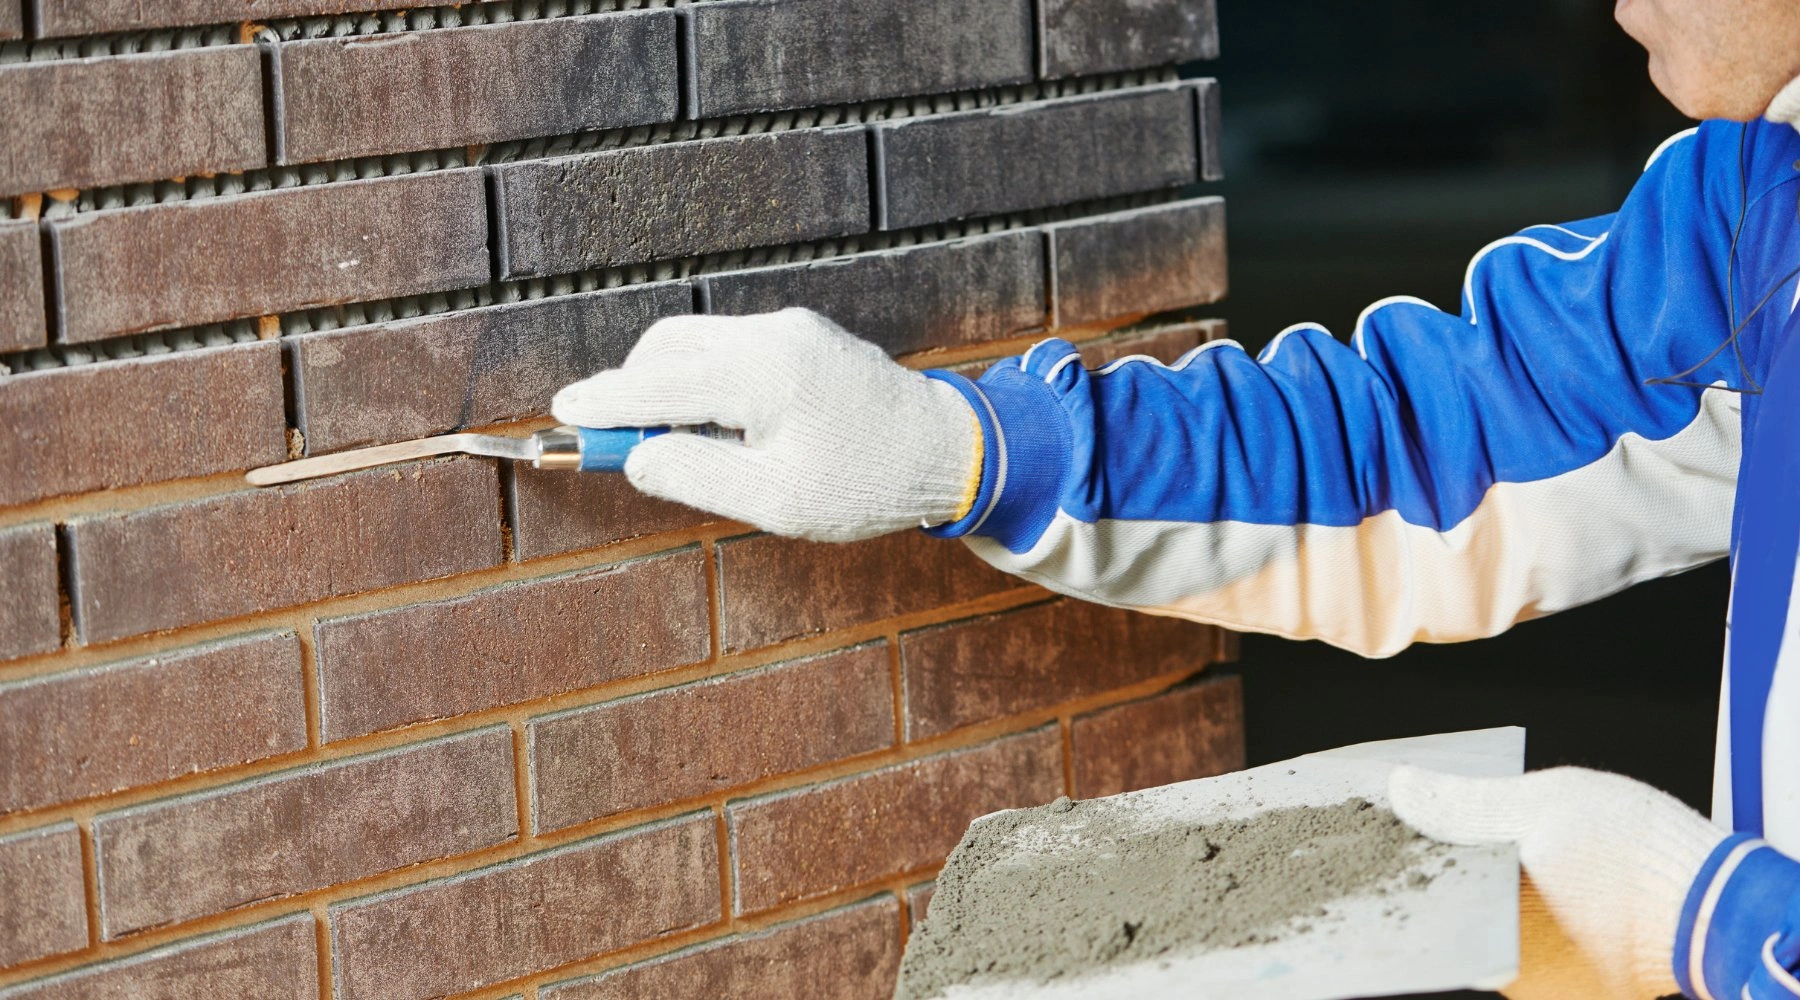
To apply masonry sealer, first clean and fully dry the brick or stone. Then spray a breathable, penetrating sealer with a low-pressure sprayer, working from the bottom up until the surface is saturated. Brush out any drips, then add a second coat if needed.
Brick and stone are porous, so they soak up water that slowly cracks mortar and stains walls. Knowing how to apply masonry sealer is the simplest way to stop that damage before it starts.
Why Masonry Sealing Matters
Water is the number one enemy of brick and stone. When masonry absorbs water, three problems follow, and none of them are good.
- Spalling: Water gets inside the brick, freezes, expands, and pops the brick face right off. This is common after Georgia cold snaps.
- Efflorescence: The chalky white stain on brick walls is salt left behind by evaporating water. It signals moisture moving through the masonry.
- Mortar decay: Wet mortar joints crumble faster. This weakens the whole wall and lets in even more water.
A breathable masonry sealer keeps liquid water out while letting trapped vapor escape. That balance protects the brick without locking dampness inside the wall.
Sealing is a smart move for:
- Exterior brick and stone walls
- Chimneys and chimney crowns
- Brick patios, walkways, and steps
- Stone veneer and retaining walls
Step 1: Choose the Right Masonry Sealer
Picking the wrong product is the most common mistake homeowners make. There are two main types of masonry sealer.
Penetrating Sealers (Breathable)
These soak into the masonry and bond below the surface. Most are made from silane or siloxane. They repel water but do not change how the brick looks or feels.
- Best for: Exterior walls, chimneys, and any masonry that needs to breathe
- Look: Natural, with no shine or color change
- Lifespan: Often 5–10 years before resealing
Film-Forming Sealers (Surface Coatings)
These sit on top of the masonry and form a visible layer. Acrylic sealers fall in this group. They can add a wet look or light sheen.
- Best for: Indoor or decorative surfaces with low moisture
- Risk: Can trap moisture and peel or flake, especially outdoors
Our advice: For exterior brick and stone in the Georgia climate, a breathable penetrating sealer is almost always the right choice. It blocks water while letting walls release moisture naturally.
Masonry Sealer Comparison Table
Use this quick comparison to match the right masonry sealer to your project.
Feature | Penetrating (Silane/Siloxane) | Film-Forming (Acrylic) | Professional Sealing |
Finish | Natural, invisible | Wet look or light sheen | Natural, expert-matched |
Breathability | High (vapor escapes) | Low (can trap moisture) | High, surface-specific |
Typical lifespan | 5–10 years | 1–3 years outdoors | 5–10 years, warrantied |
Best for | Exterior brick, stone, and chimneys | Indoor or decorative surfaces | Any masonry, esp. high or damaged |
DIY difficulty | Moderate | Moderate | Done for you |
Recommended? | Best value for exteriors | Limited use only | Best for chimneys & repairs |
Step 2: How to Clean Masonry Before Sealing

Sealer only works on a clean, dry surface. If you seal over dirt, soot, or mildew, you trap the grime underneath, and the sealer will not bond. Here is how to clean masonry brick and stone before sealing.
- Clear the area. Pull back vines, weeds, and shrubs. Trim grass away from the base of the wall.
- Remove loose debris. Sweep or brush away dirt, dust, and cobwebs.
- Scrape off old paint or coatings. A penetrating sealer needs open pores, and old paint blocks them.
- Treat mildew and moss. Use a mild masonry cleaner and a stiff brush. A low-pressure wash works for larger areas.
- Rinse and dry fully. A wet brick cannot absorb sealer. Allow at least 24 hours of dry weather before sealing.
Cleaning Special Surfaces
- How to clean a masonry chimney: Exterior chimney brick collects soot, pollen, and algae. Clean it gently, but leave creosote inside the flue to a certified chimney sweep, since that is a safety job.
- How to clean a masonry fireplace: For the brick face, use a soft brush and masonry-safe cleaner to lift soot and smoke stains. Work top to bottom and rinse as you go.
- How to clean masonry before painting: The prep is nearly identical. A clean, dry, paint-free surface is the base for both sealing and painting. For exterior brick, a breathable sealer usually protects better than paint, which can peel and trap moisture.
Step 3: Check the Weather and Temperature
Timing matters more than people expect, because the sealer needs the right conditions to cure.
- Temperature: Apply when the air and surface are between 40°F and 100°F. Around 50°F or warmer is ideal.
- No rain: Keep the surface rain-free for at least 6 hours after you finish, and longer if possible.
- Avoid frost: Never seal frozen or frost-covered masonry.
- Skip blazing sun: On very hot days, the sealer can dry too fast to soak in. Work in shade or cooler hours.
In Georgia, spring and fall are often the best seasons to seal. Humidity is lower, and temperatures sit in the sweet spot.
Step 4: Gather Your Tools and Materials
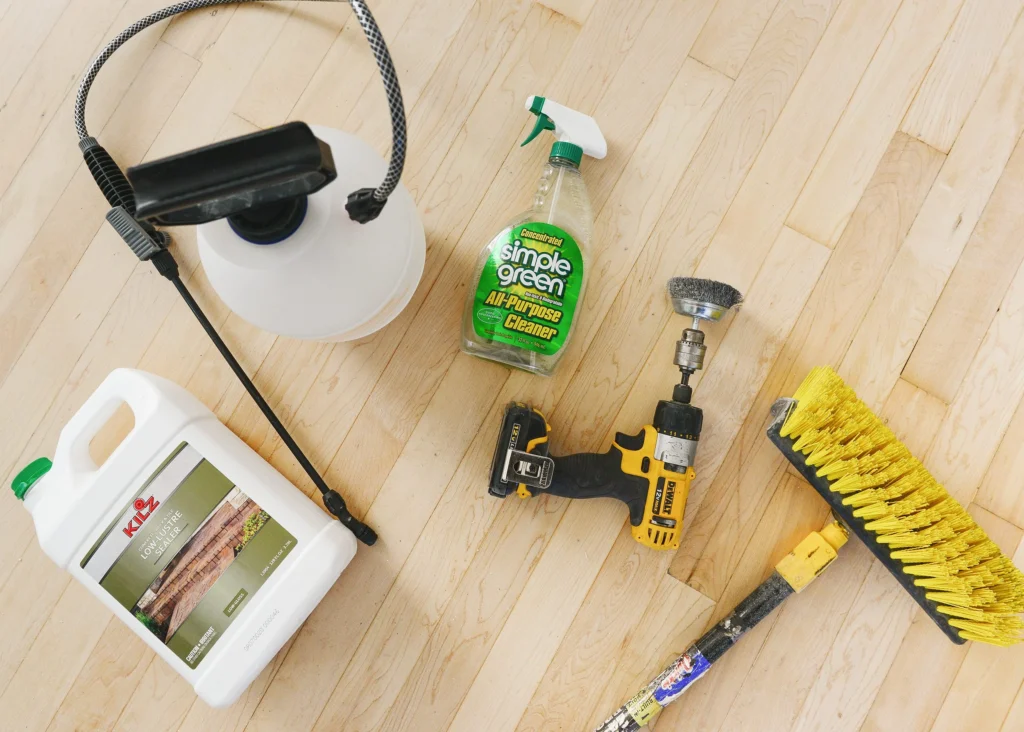
You do not need much, but quality matters.
- High-quality breathable masonry sealer
- A low-pressure pump sprayer (10–25 psi is ideal for penetrating sealers)
- A paintbrush or roller with a 3/8-inch nap for touch-ups
- Painter’s tape and plastic sheeting
- Safety gear: gloves, eye protection, and a mask
Protect everything nearby. Cover windows, doors, wood trim, plants, and walkways. Sealer can leave marks on glass and other non-masonry surfaces.
Step 5: How to Apply Masonry Sealer
Here is exactly how to apply masonry sealer for even, lasting protection.
- Shake or stir the sealer well. The settled product applies unevenly.
- Test a small spot first. Pick a hidden area and confirm the surface absorbs the product.
- Start at the bottom of vertical walls. Working bottom to top prevents streaking and controls runs.
- Flood the surface. Apply enough sealer so it runs down 6 to 12 inches below your spray point. That means the masonry is fully saturated.
- Spread any puddles. If sealer pools or drips, brush it out right away so it soaks in evenly.
- Work in sections. Keep a wet edge so each new pass blends with the last.
- Apply a second coat if needed. Many surfaces need two coats. Apply the second while the first is still slightly damp, wet on wet, for the best bond.
Important: Do not apply the sealer too thick in one pass. Over-application can cause a hazy film or flaking later. Thin, even, fully absorbed coats win every time.
Drying and Curing
- The surface usually feels dry in 2 to 6 hours.
- For horizontal surfaces like patios, wait at least 24 hours before walking or driving on them.
- Full water-repellent protection develops over the first few days.
Masonry Sealing Cost and Pricing Factors
Sealing is one of the most affordable forms of home protection. As a general guide, professional masonry sealing runs about $2 to $10 per square foot. Several factors move that number.
- Surface condition: Walls needing heavy cleaning, paint removal, or repairs cost more before sealing begins.
- Square footage: Larger walls cost more overall, but the per-square-foot rate often drops on big jobs.
- Surface type and height: Tall chimneys, steep walls, and detailed stonework take more time and equipment.
- Number of coats: A very porous brick may need two coats, which uses more product.
- Product quality: Premium breathable sealers cost more upfront but last longer.
Here is the part that saves money: resealing is needed only every 5 to 10 years. That occasional cost is small next to repairing spalled brick, decayed mortar, or water damage, which can run into the thousands.
Estimated Cost by Project Type (National Averages)
Project | Typical Size | Estimated Cost | Best For |
Chimney sealing | Single chimney | $150 – $600 | Annual leak prevention |
Brick patio or walkway | 200–400 sq ft | $400 – $2,000 | High-traffic outdoor areas |
Full exterior brick home | 1,500–2,500 sq ft | $3,000 – $10,000+ | Long-term whole-home protection |
Figures are national estimates for planning only. Request a local quote for exact pricing in Newnan, Marietta, or your area.
DIY vs. Hiring a Pro
A small patio or low garden wall can be a reasonable weekend project. But some signs clearly call for a professional.
- The masonry is two stories up or on a chimney that needs a ladder or roof access
- You see active leaks, cracking, spalling, or crumbling mortar (these need repair first)
- There is heavy efflorescence or mildew that will not scrub off
- You are not sure which sealer is right for your brick or stone
- The surface was previously painted or coated
Getting it wrong is costly. The wrong product, a skipped cleaning step, or sealing over moisture can trap water inside the wall and make problems worse.
Why Choose Archer Chimneys & Exteriors
Archer Chimneys & Exteriors is a licensed, insured, family-owned chimney and exterior services company. We are based in Newnan, GA, and serve homeowners throughout Coweta County, Marietta, and Asheville, NC.
Here is what separates us from general contractors and national chains:
- Full leak diagnosis. We assess every potential entry point on every visit. You get a complete diagnosis, not a partial fix.
- Level 2 video camera inspections: We inspect the interior of your flue from crown to firebox. We identify damage that is invisible from the outside.
- Chimney and roofing expertise combined: Since chimney leaks often involve both the chimney and the roof, our dual expertise removes the guesswork about where the water originates.
- Licensed and insured: We carry full licensing and liability coverage across all service areas.
- 279+ verified Google reviews: Our reputation is built on honest inspections and accurate repairs for homeowners throughout the Newnan area.
- Inspection fee applied to repairs: Your inspection fee counts toward any repair or service within 30 days. You are paying for real answers.
Conclusion
Learning how to apply masonry sealer comes down to four steps: clean the surface, choose a breathable sealer, apply it evenly in the right weather, and let it cure. Done right, sealing shields your home from water, freeze-thaw damage, staining, and costly repairs for years.
The hardest part is knowing whether your masonry needs repair first and which product fits your home and climate. If you would like a professional set of eyes on your brick, stone, or chimney, the team at Archer Chimneys & Exteriors is here to help.
For more updates, expert tips, and customer reviews, follow us on Facebook and Instagram, or visit our Google My Business to see why homeowners trust us.
Contact us today to schedule your inspection or get a free quote.
Frequently Asked Questions
What is masonry sealer?
Masonry sealer is a liquid product that protects brick, stone, and mortar from water damage. Breathable penetrating sealers soak into the surface to repel liquid water while still letting trapped moisture escape, preventing spalling, staining, and mortar decay.
How do you apply masonry sealer?
To apply masonry sealer, clean and fully dry the surface, then spray a breathable penetrating sealer with a low-pressure sprayer from the bottom up until the masonry is saturated. Brush out any drips and apply a second coat if needed.
How long does masonry sealer take to dry?
Most masonry sealers feel dry to the touch in 2 to 6 hours. For horizontal surfaces like patios, wait at least 24 hours before walking or driving on them. Full water-repellent protection develops over the first few days.
How often should you reseal brick or masonry?
Most breathable penetrating sealers last 5 to 10 years before resealing is needed. Homes in humid or freeze-thaw climates, like much of Georgia, may need resealing closer to the 5-year mark. A simple water-drop test shows when it is time.
What is the best masonry sealer for exterior brick?
A breathable silane or siloxane penetrating sealer is the best choice for exterior brick. It repels water without changing the brick’s appearance and allows the wall to release moisture, which prevents peeling and trapped dampness common with film-forming coatings.